

User Manual & Set Up
Let's get you started.
Set Up Guide
Power up your skincare routine with Lumedica’s LED Mask.
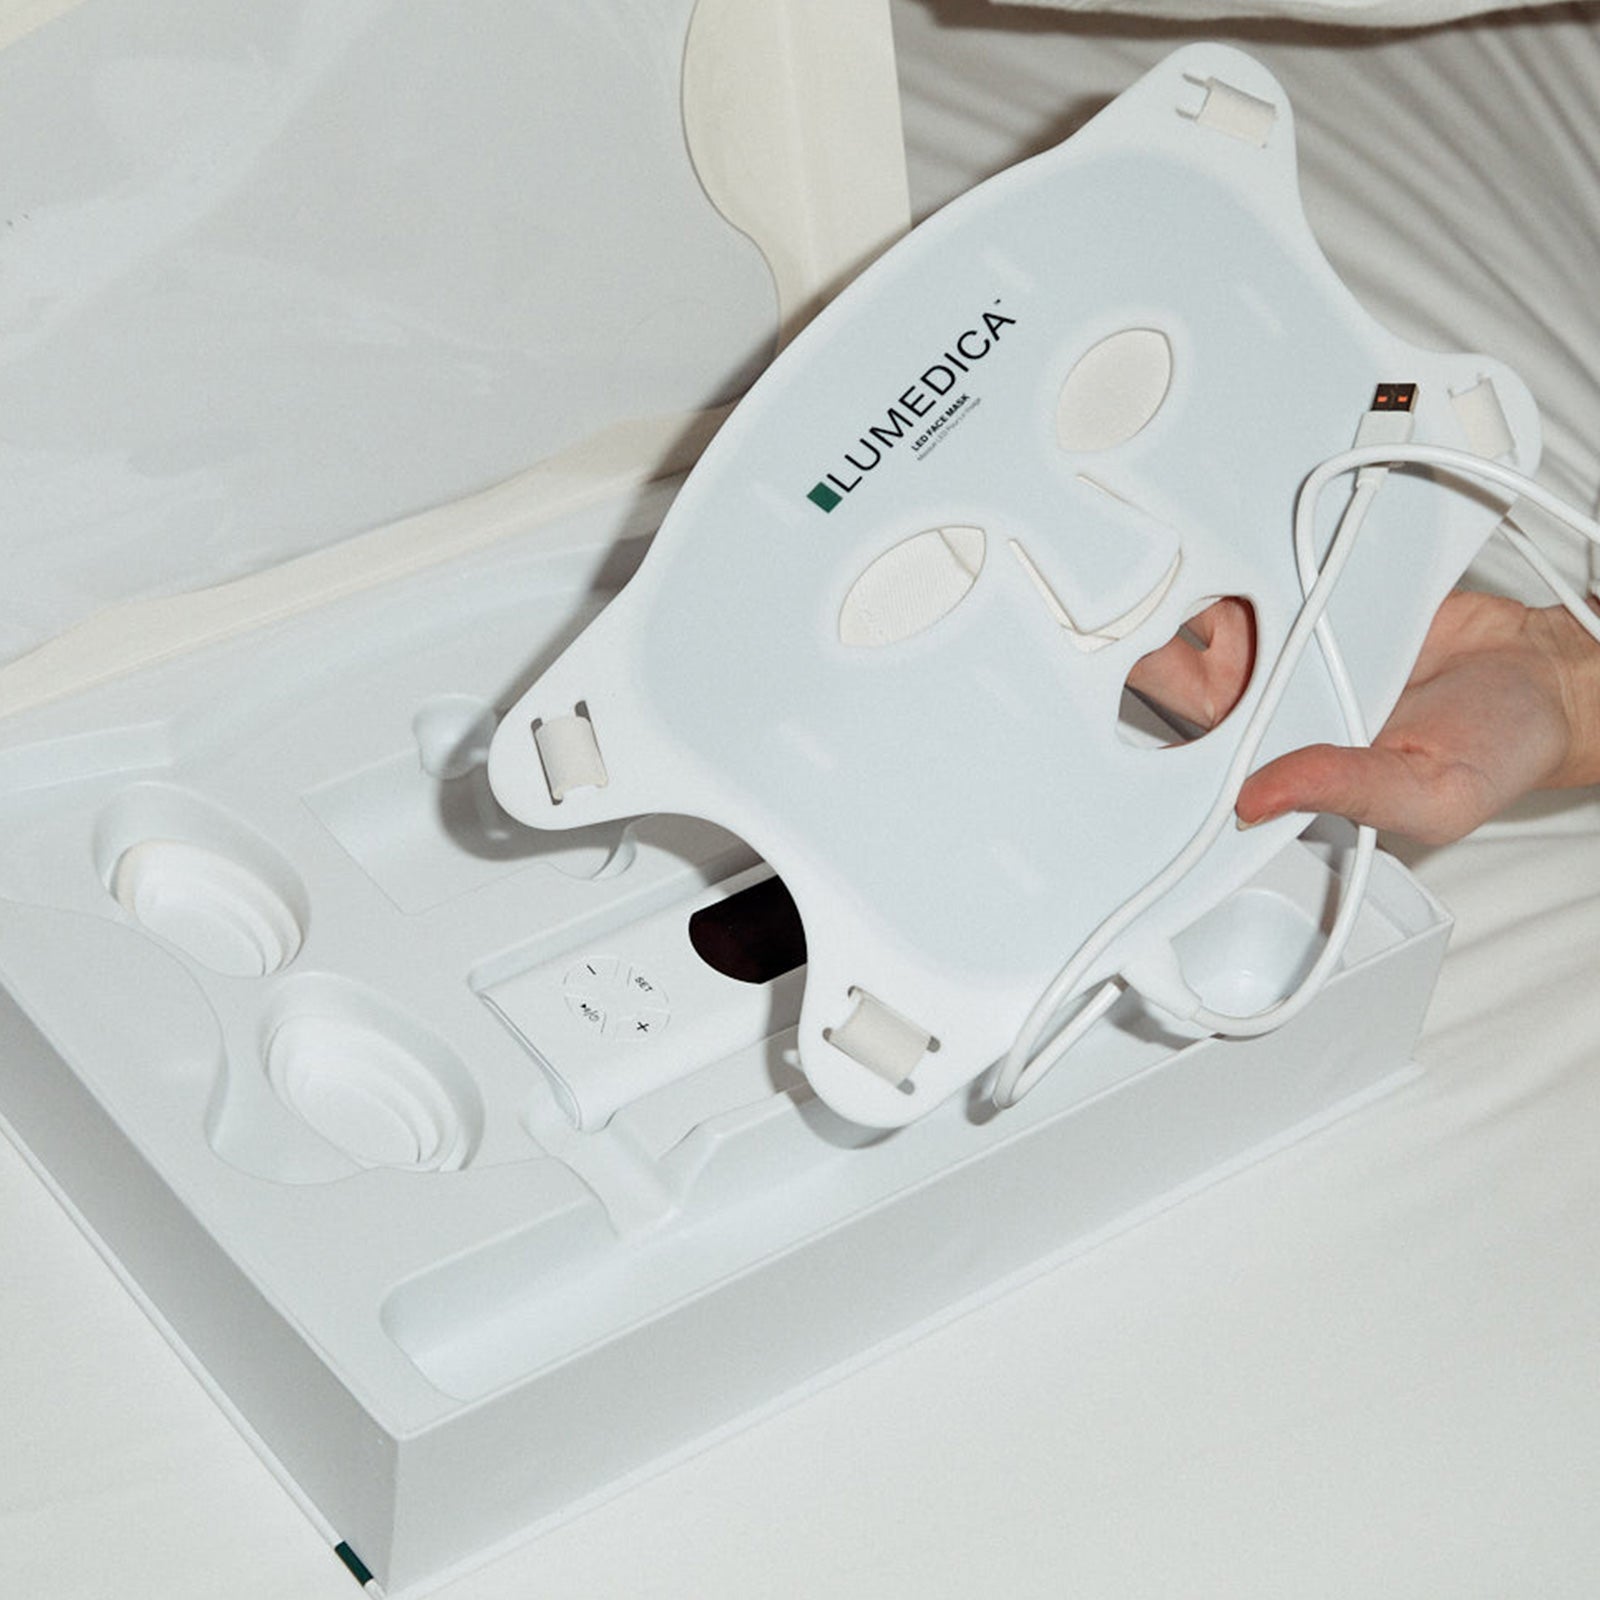
Unbox Your Mask
Remove your Lumedica LED Mask from its packaging and place all components on a clean surface. Ensure all parts are included and ready for use.
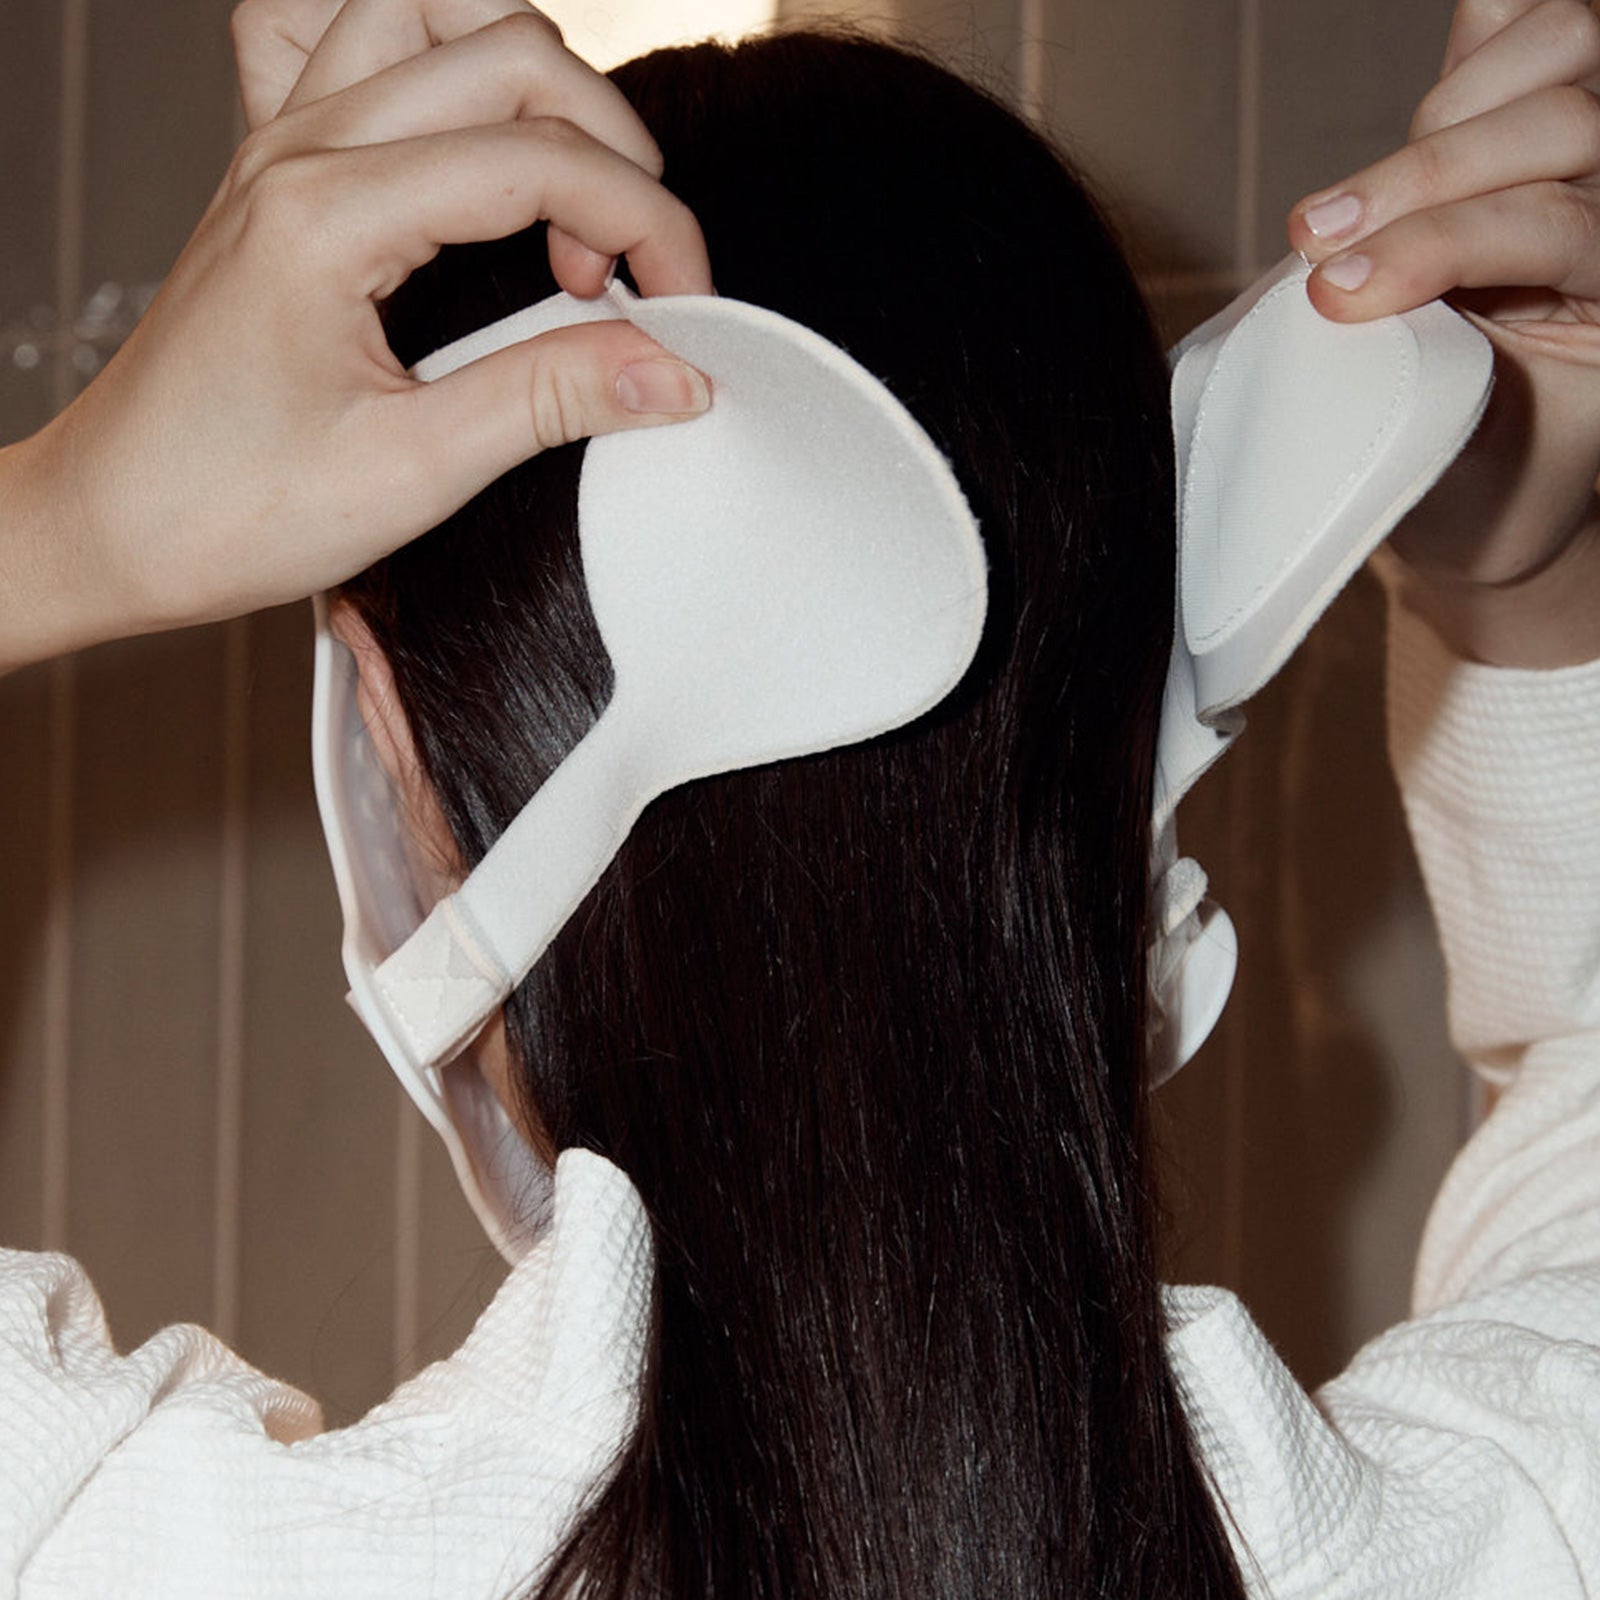
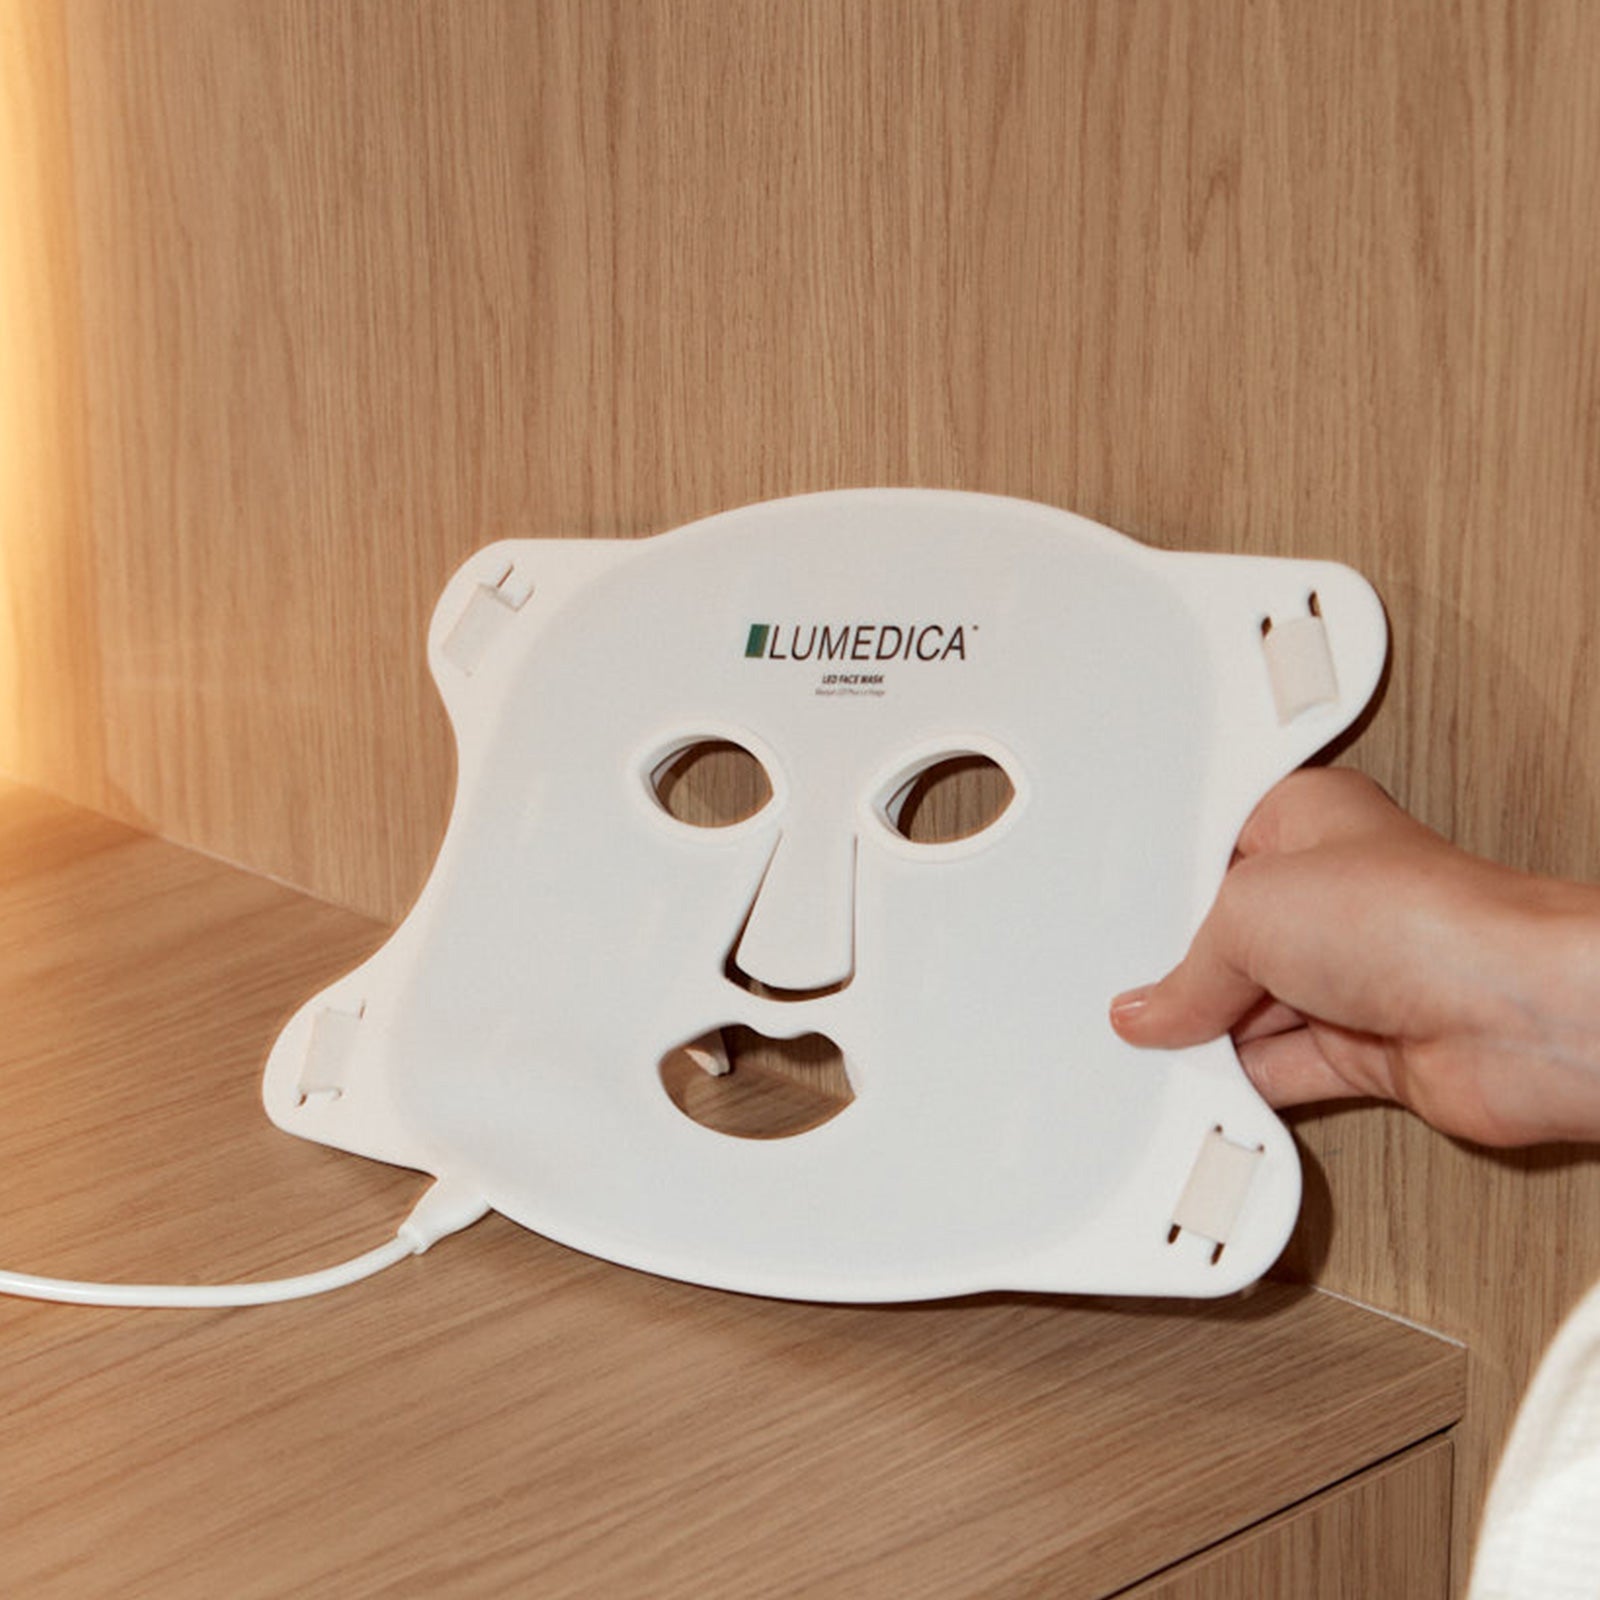
Mask Setup
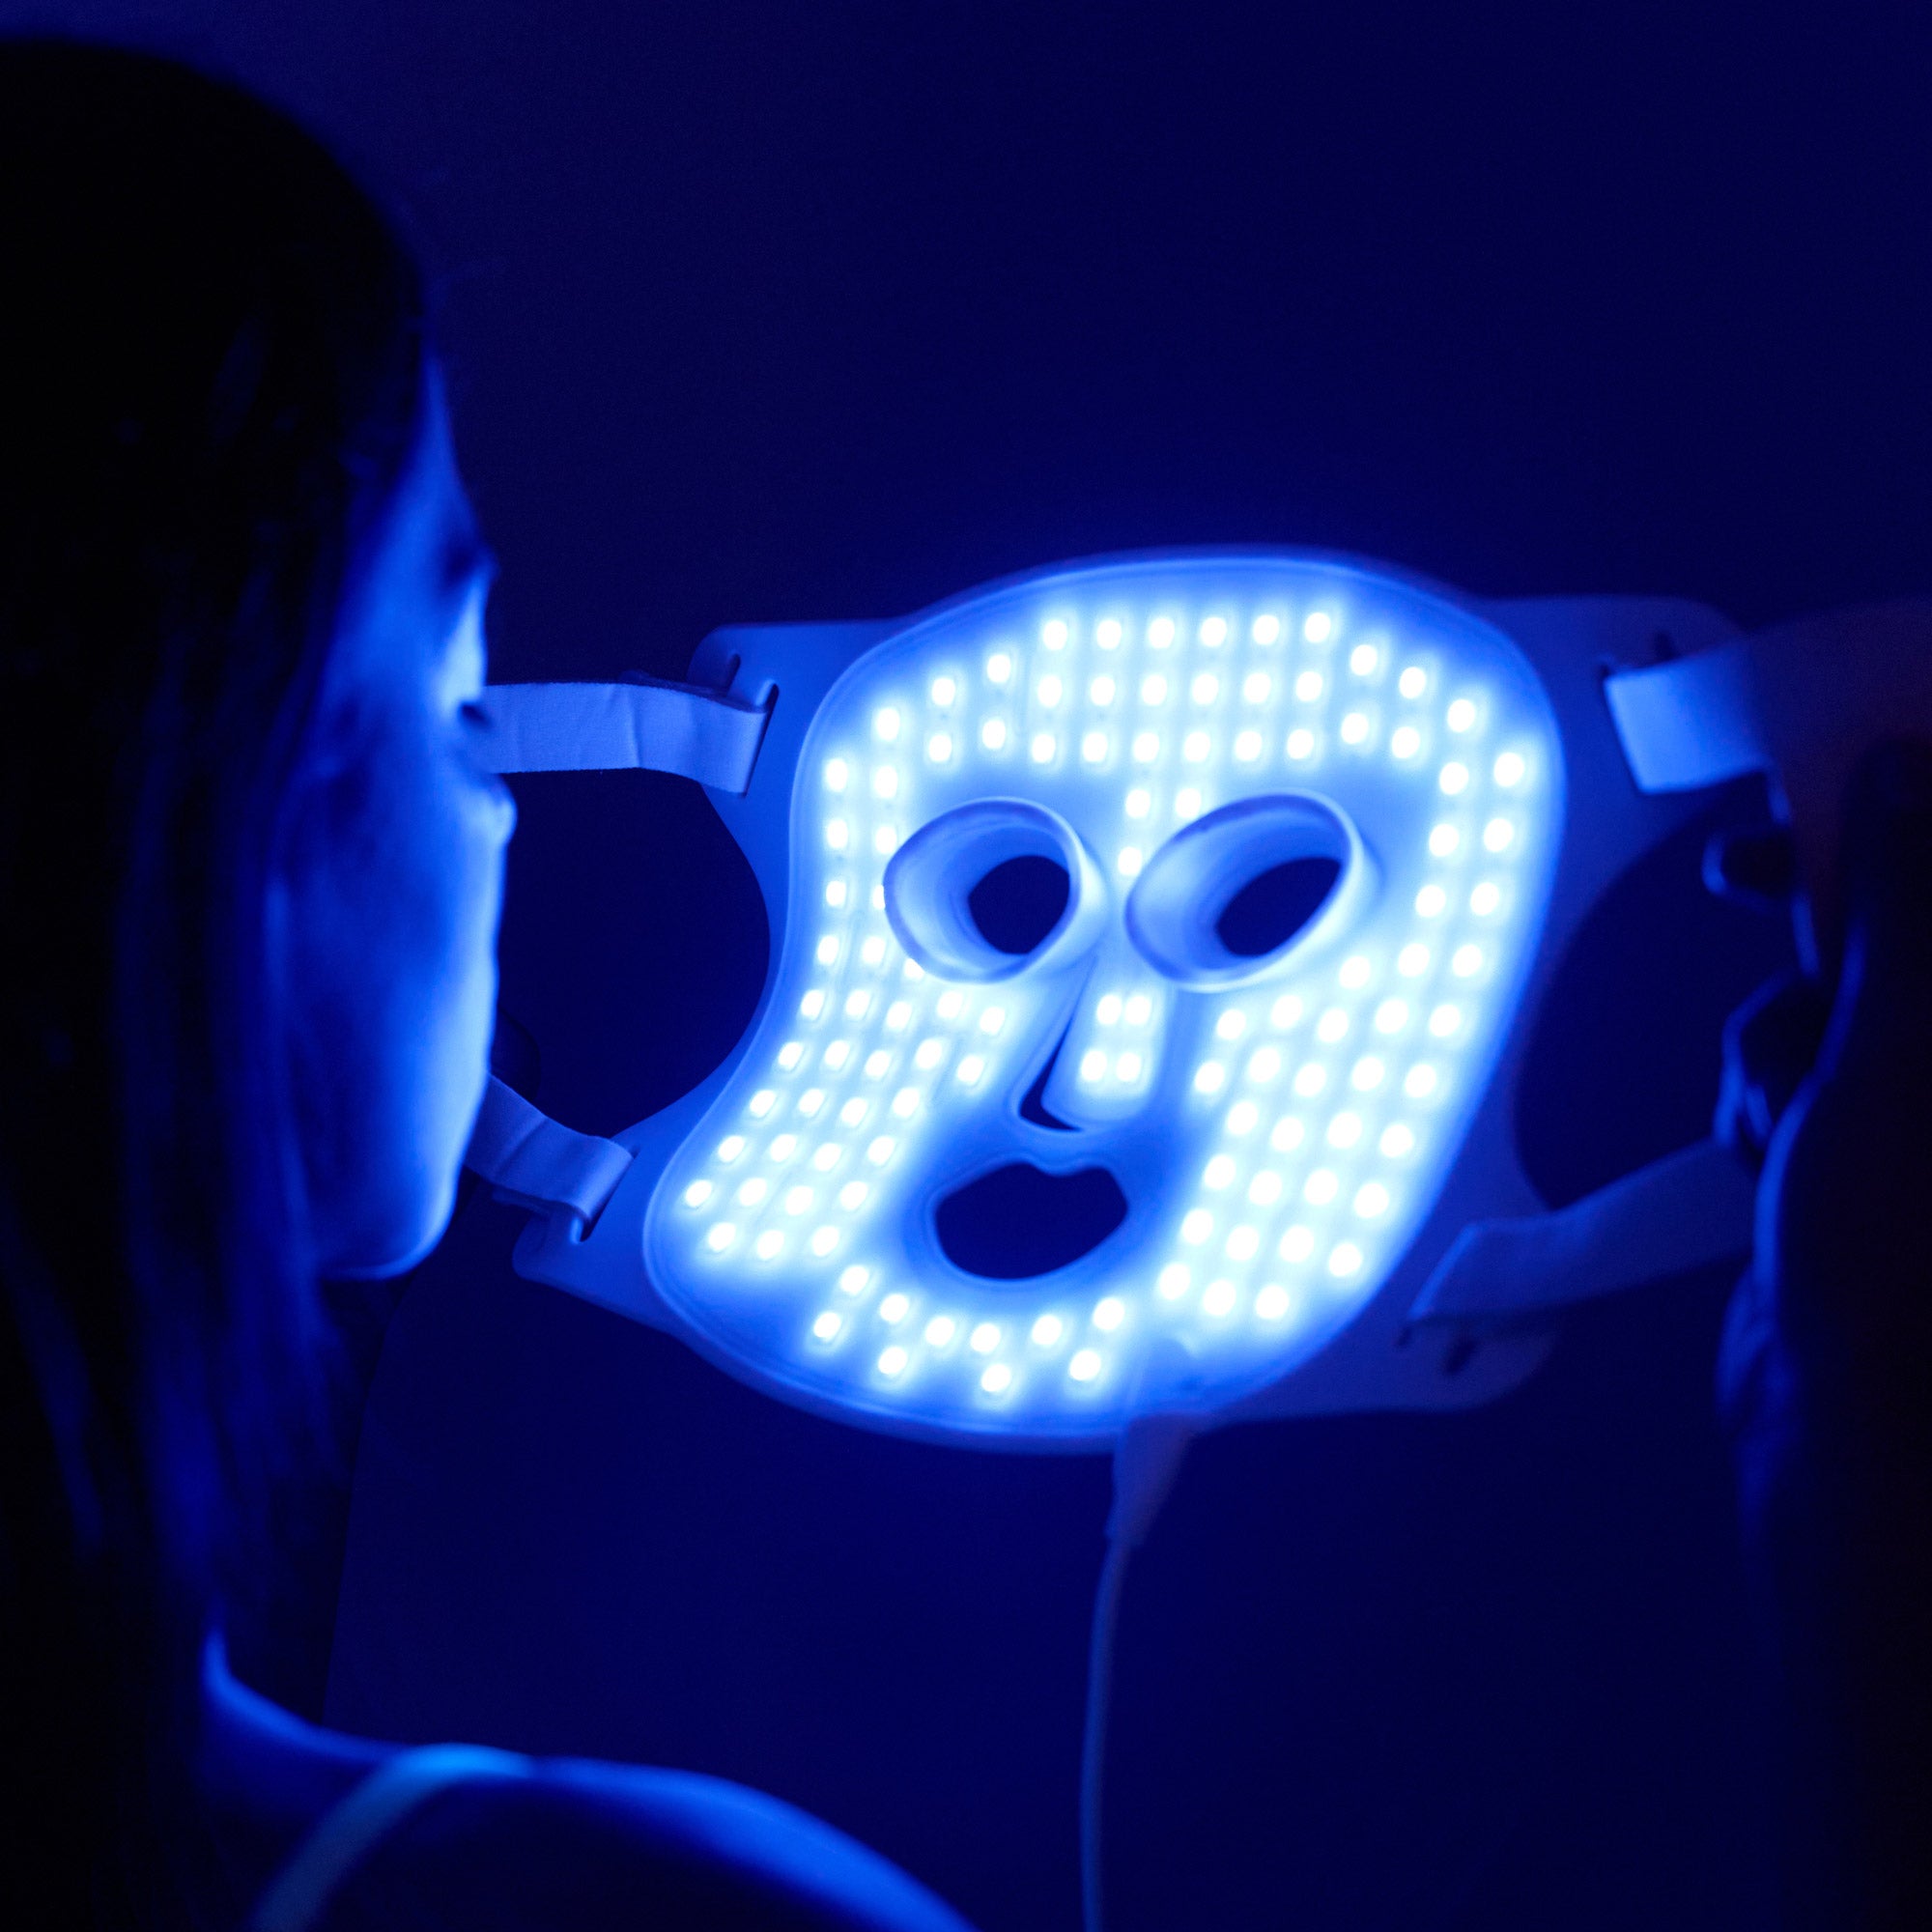
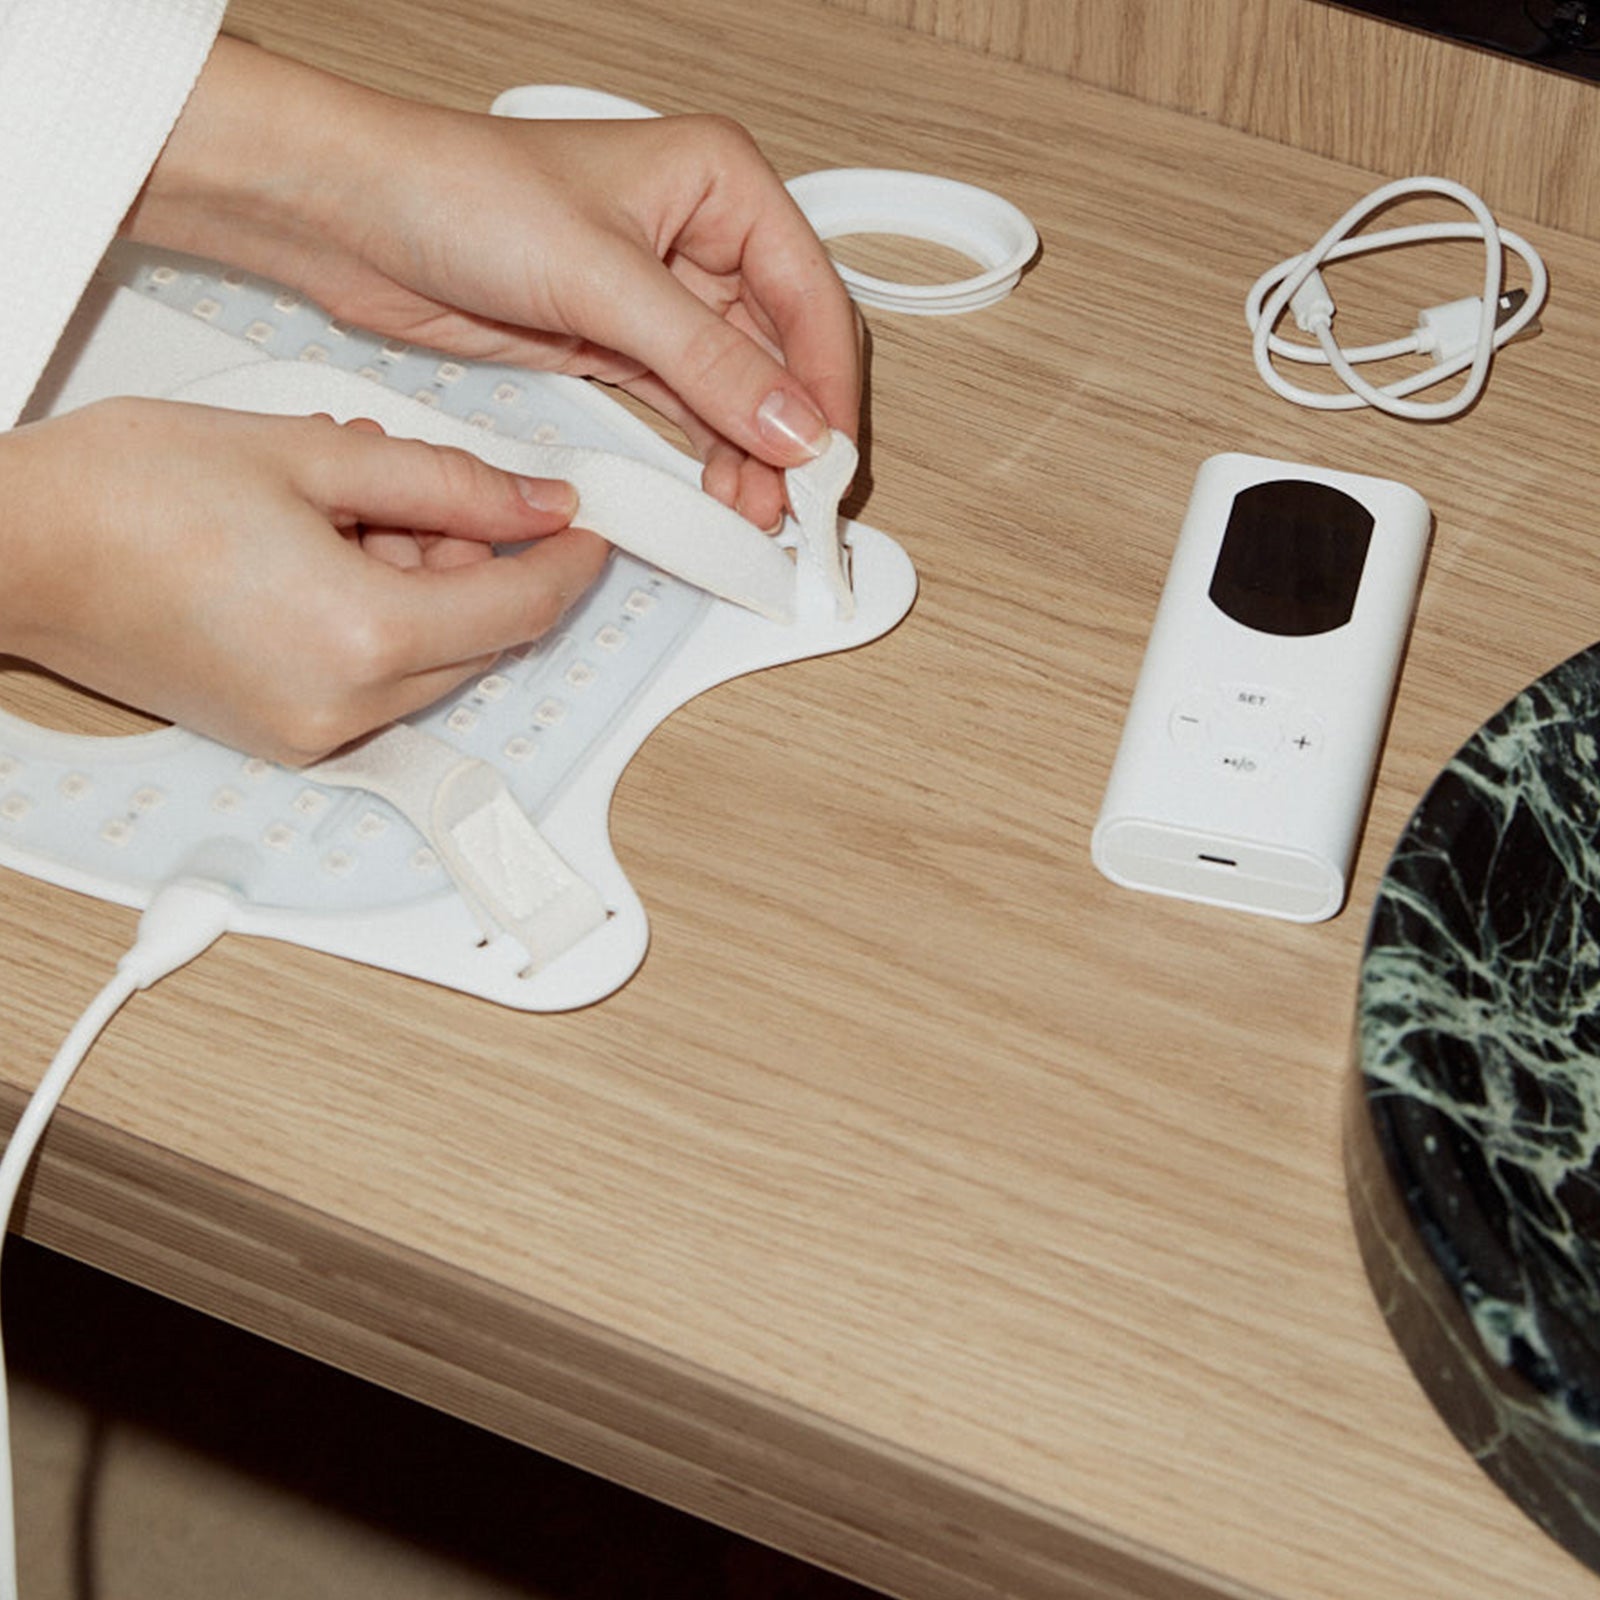
Thread the adjustable headband through the mask slots and secure comfortably. Insert the eye comfort cups to protect your eyes while ensuring full, even light coverage.
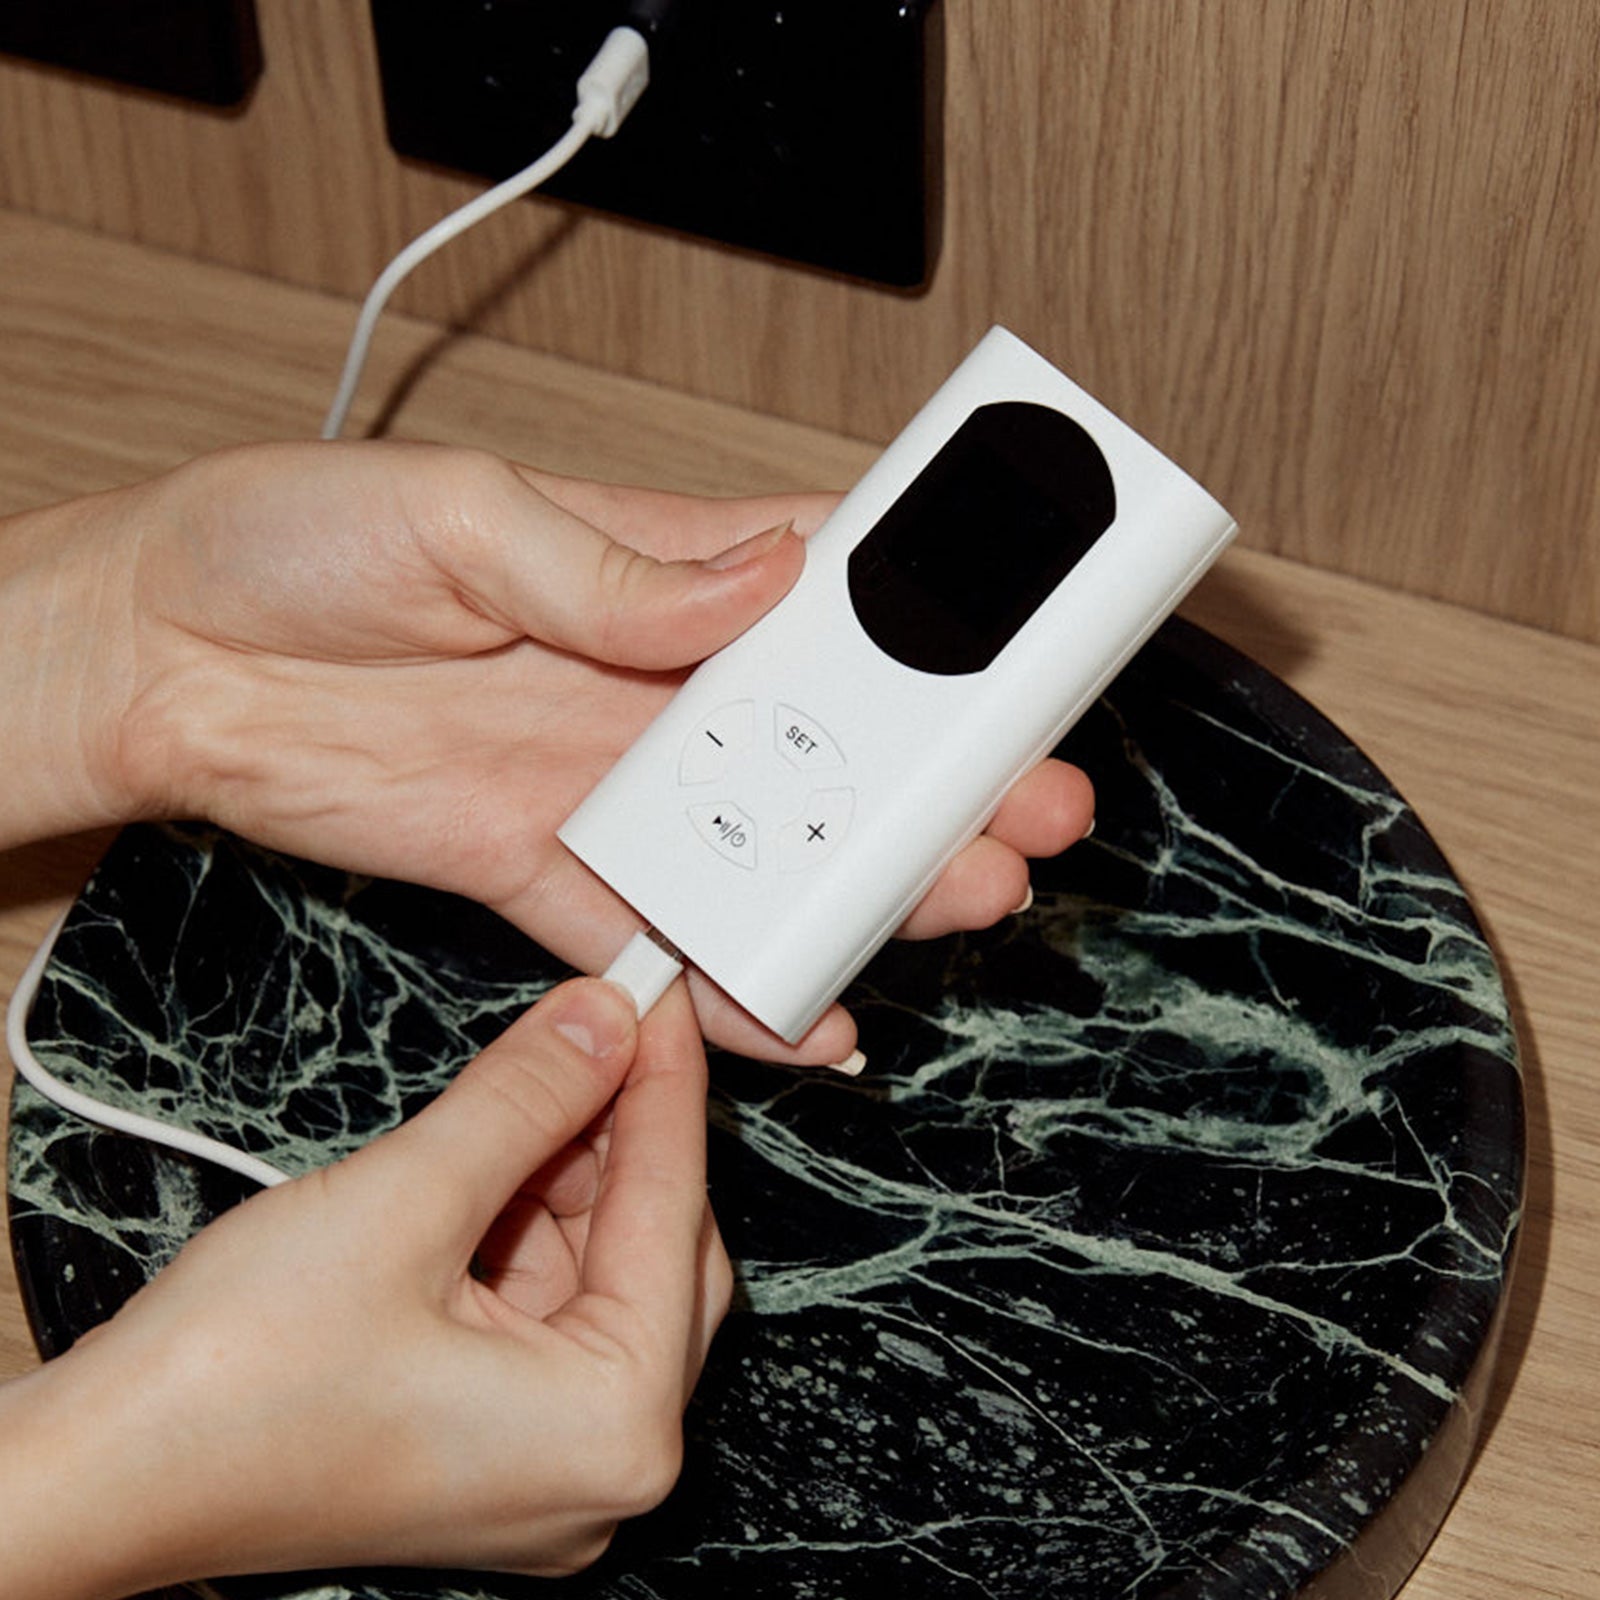
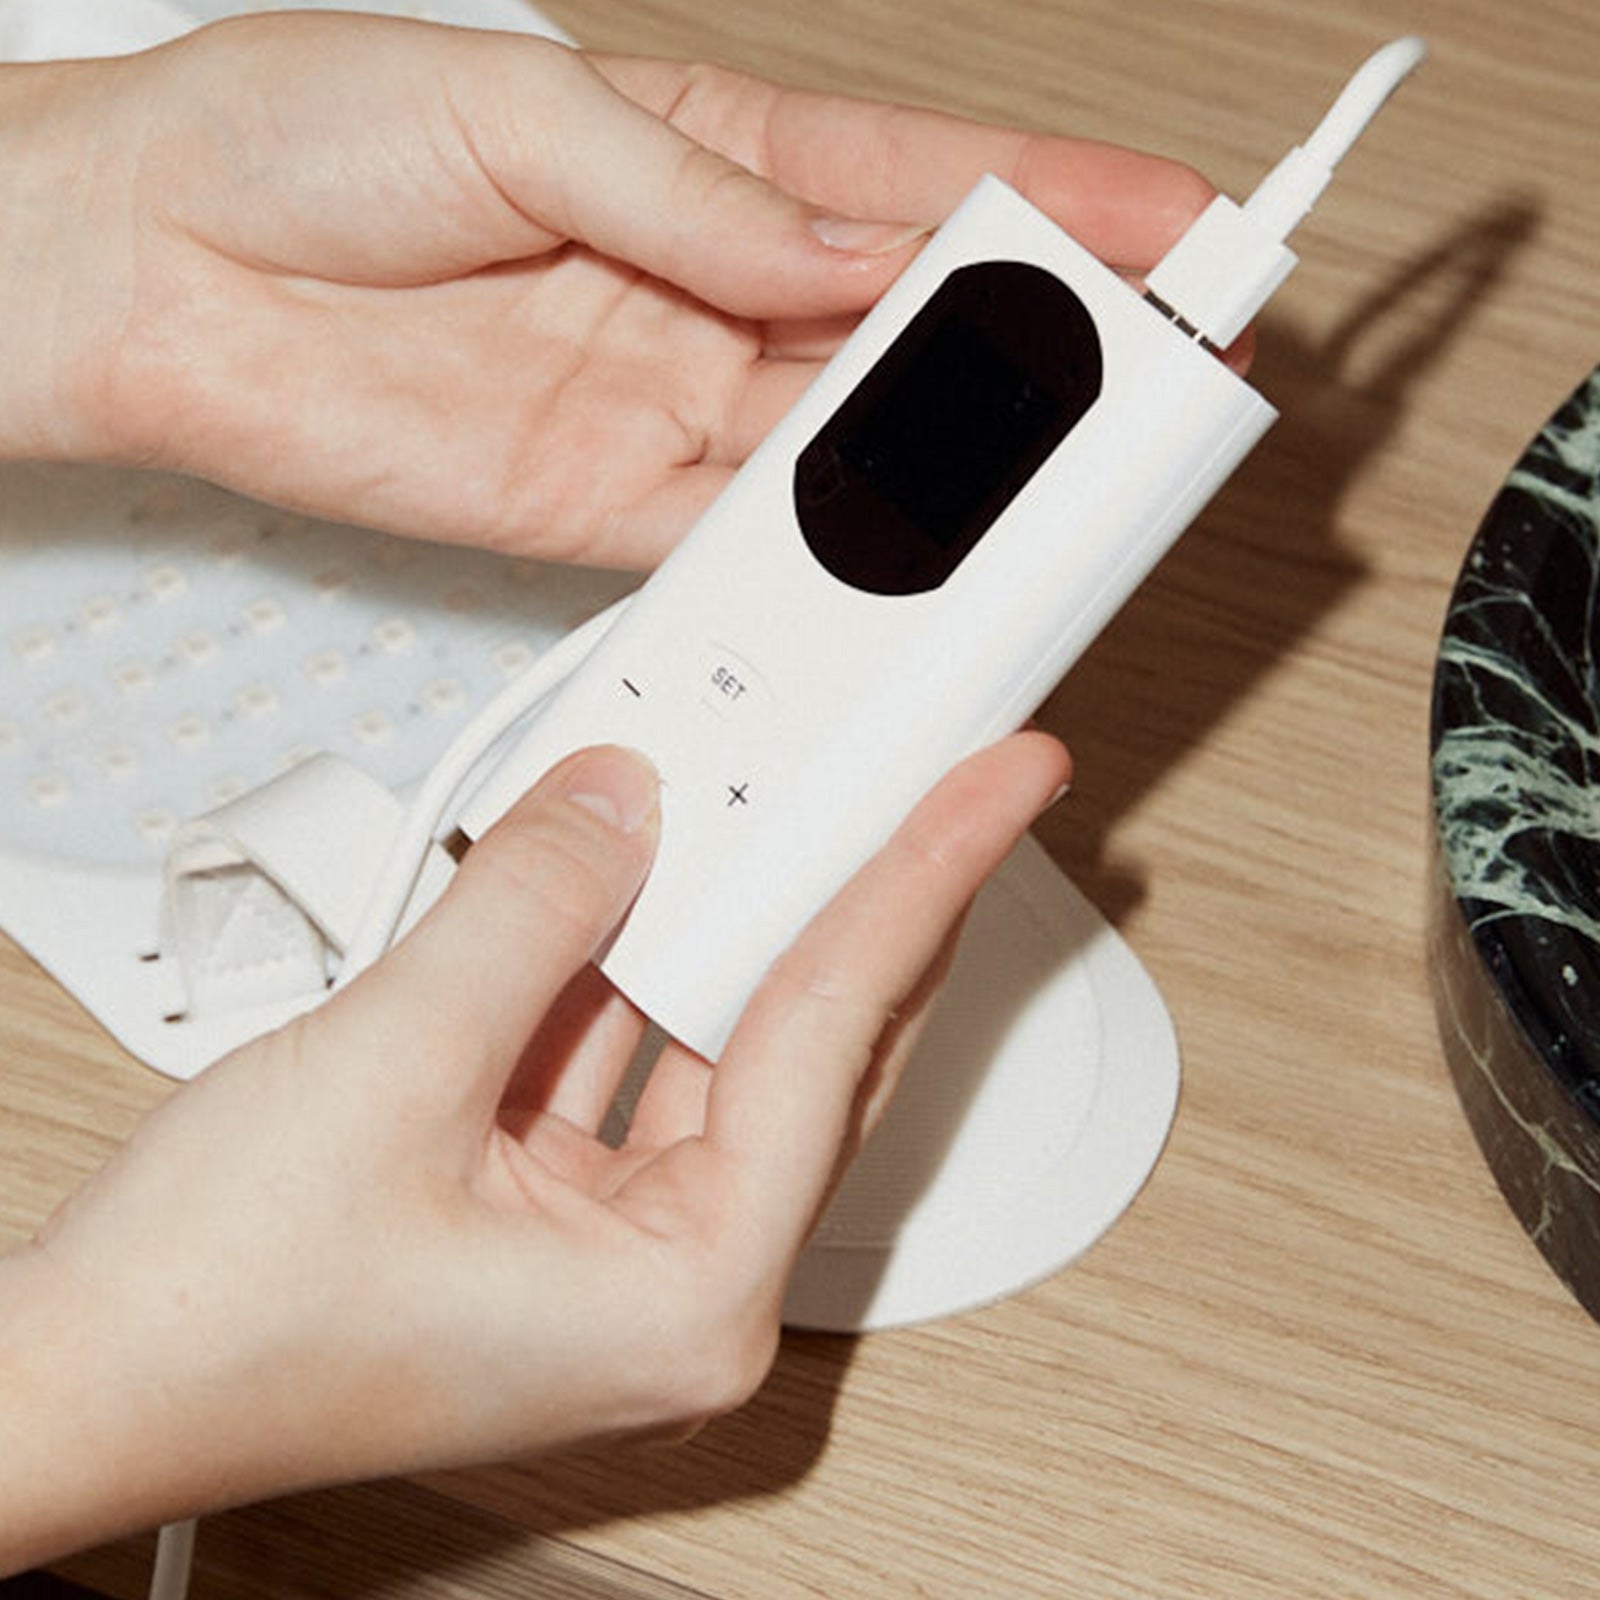
Charge Device
Connect the LED Mask to the supplied USB cord and adapter. Charge fully before first use. The indicator displays a lightning bolt and battery percentage.
Turn On Device
Once fully charged, turn on your Lumedica LED Mask using the remote. Press and hold the power button for five seconds to activate the device.
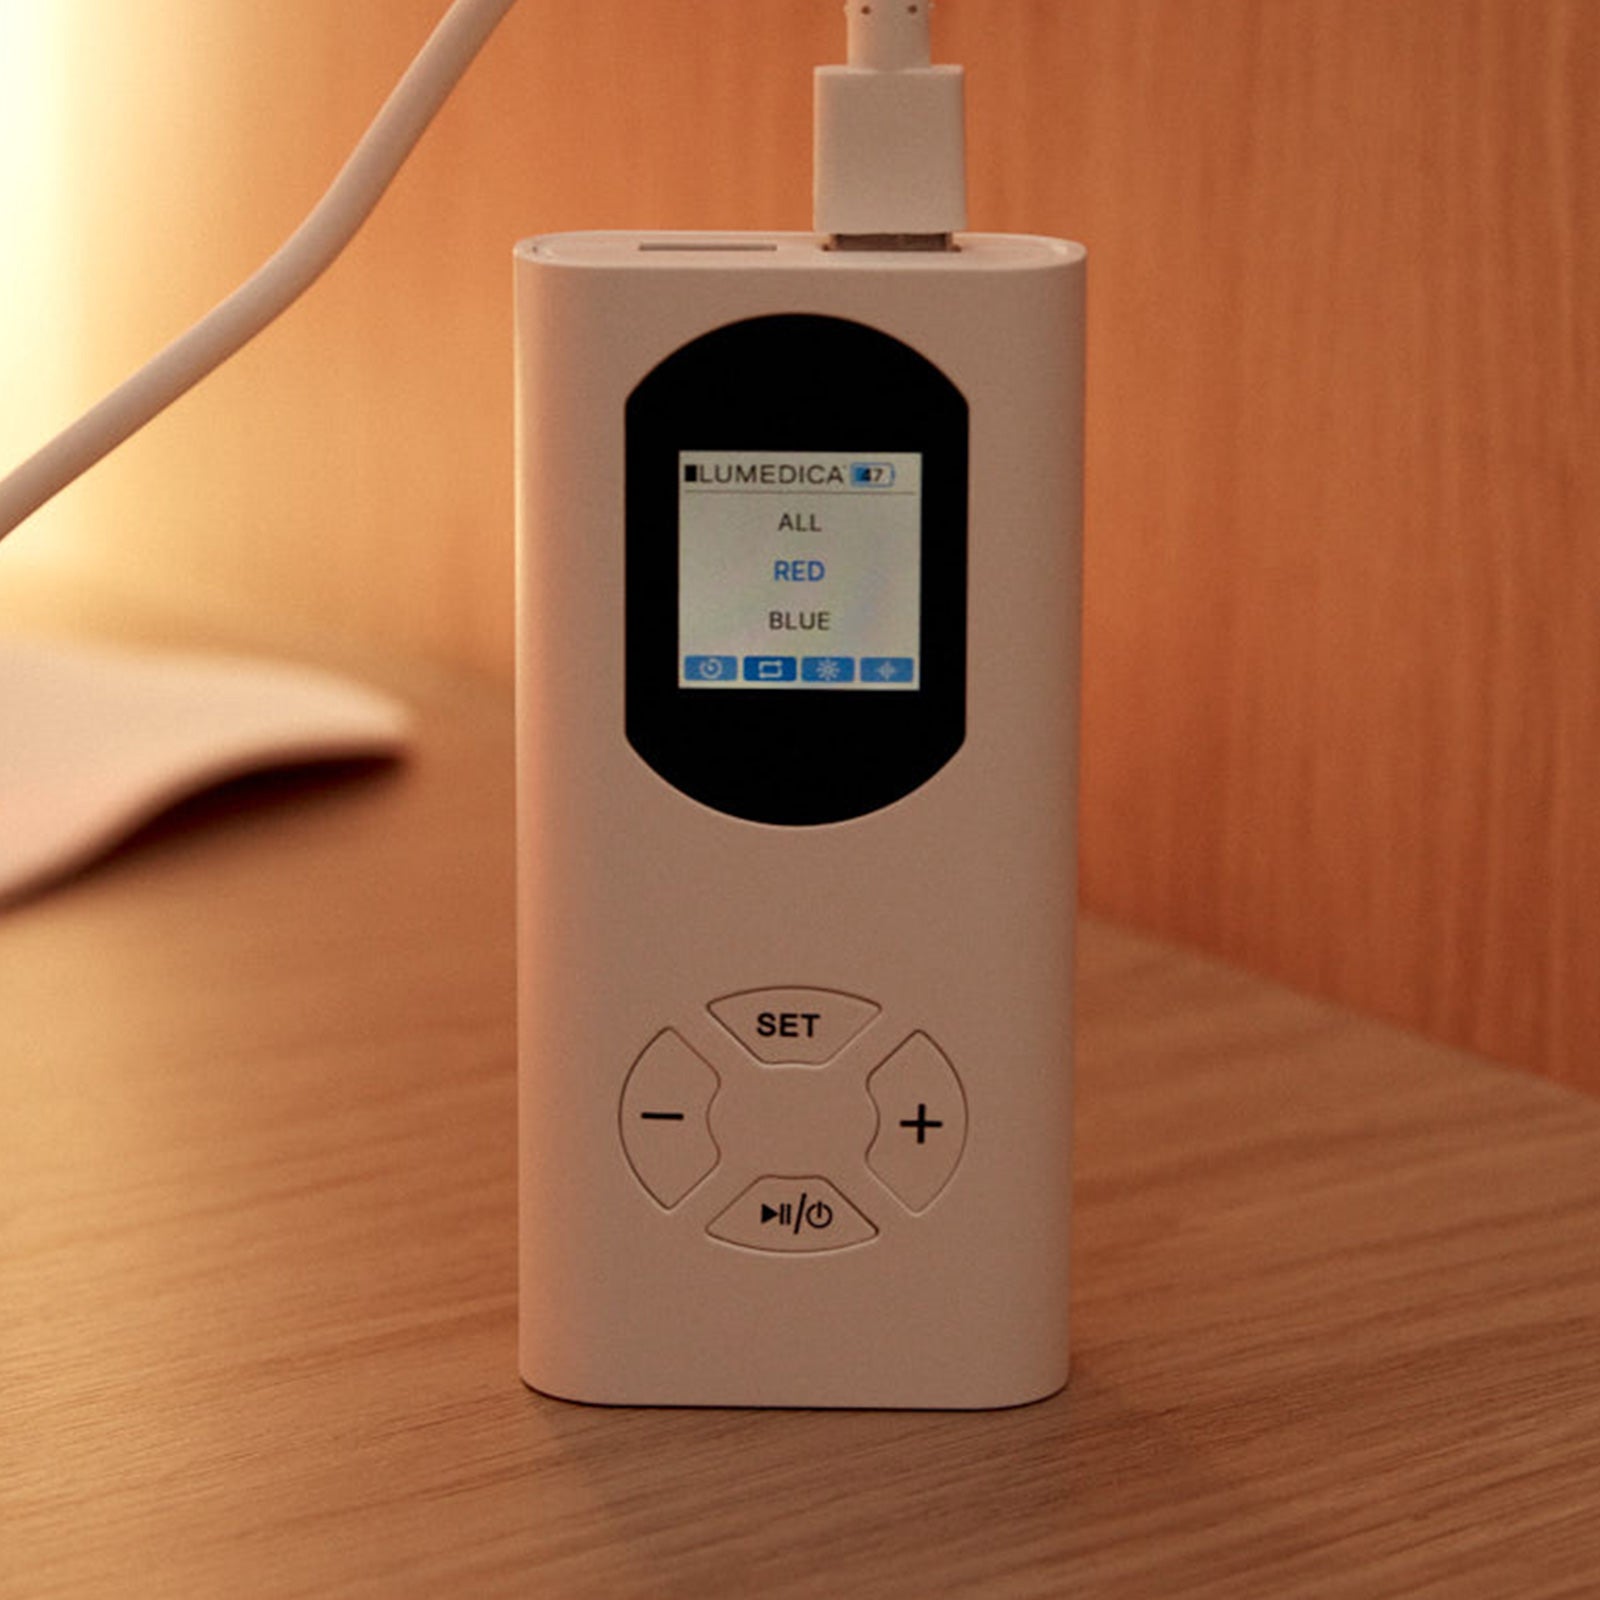
Set Treatment
Use the remote’s “Set” button to toggle between modes (Blue, Red, NIR, Magenta). Confirm selection to target your specific skin concern for optimal results.
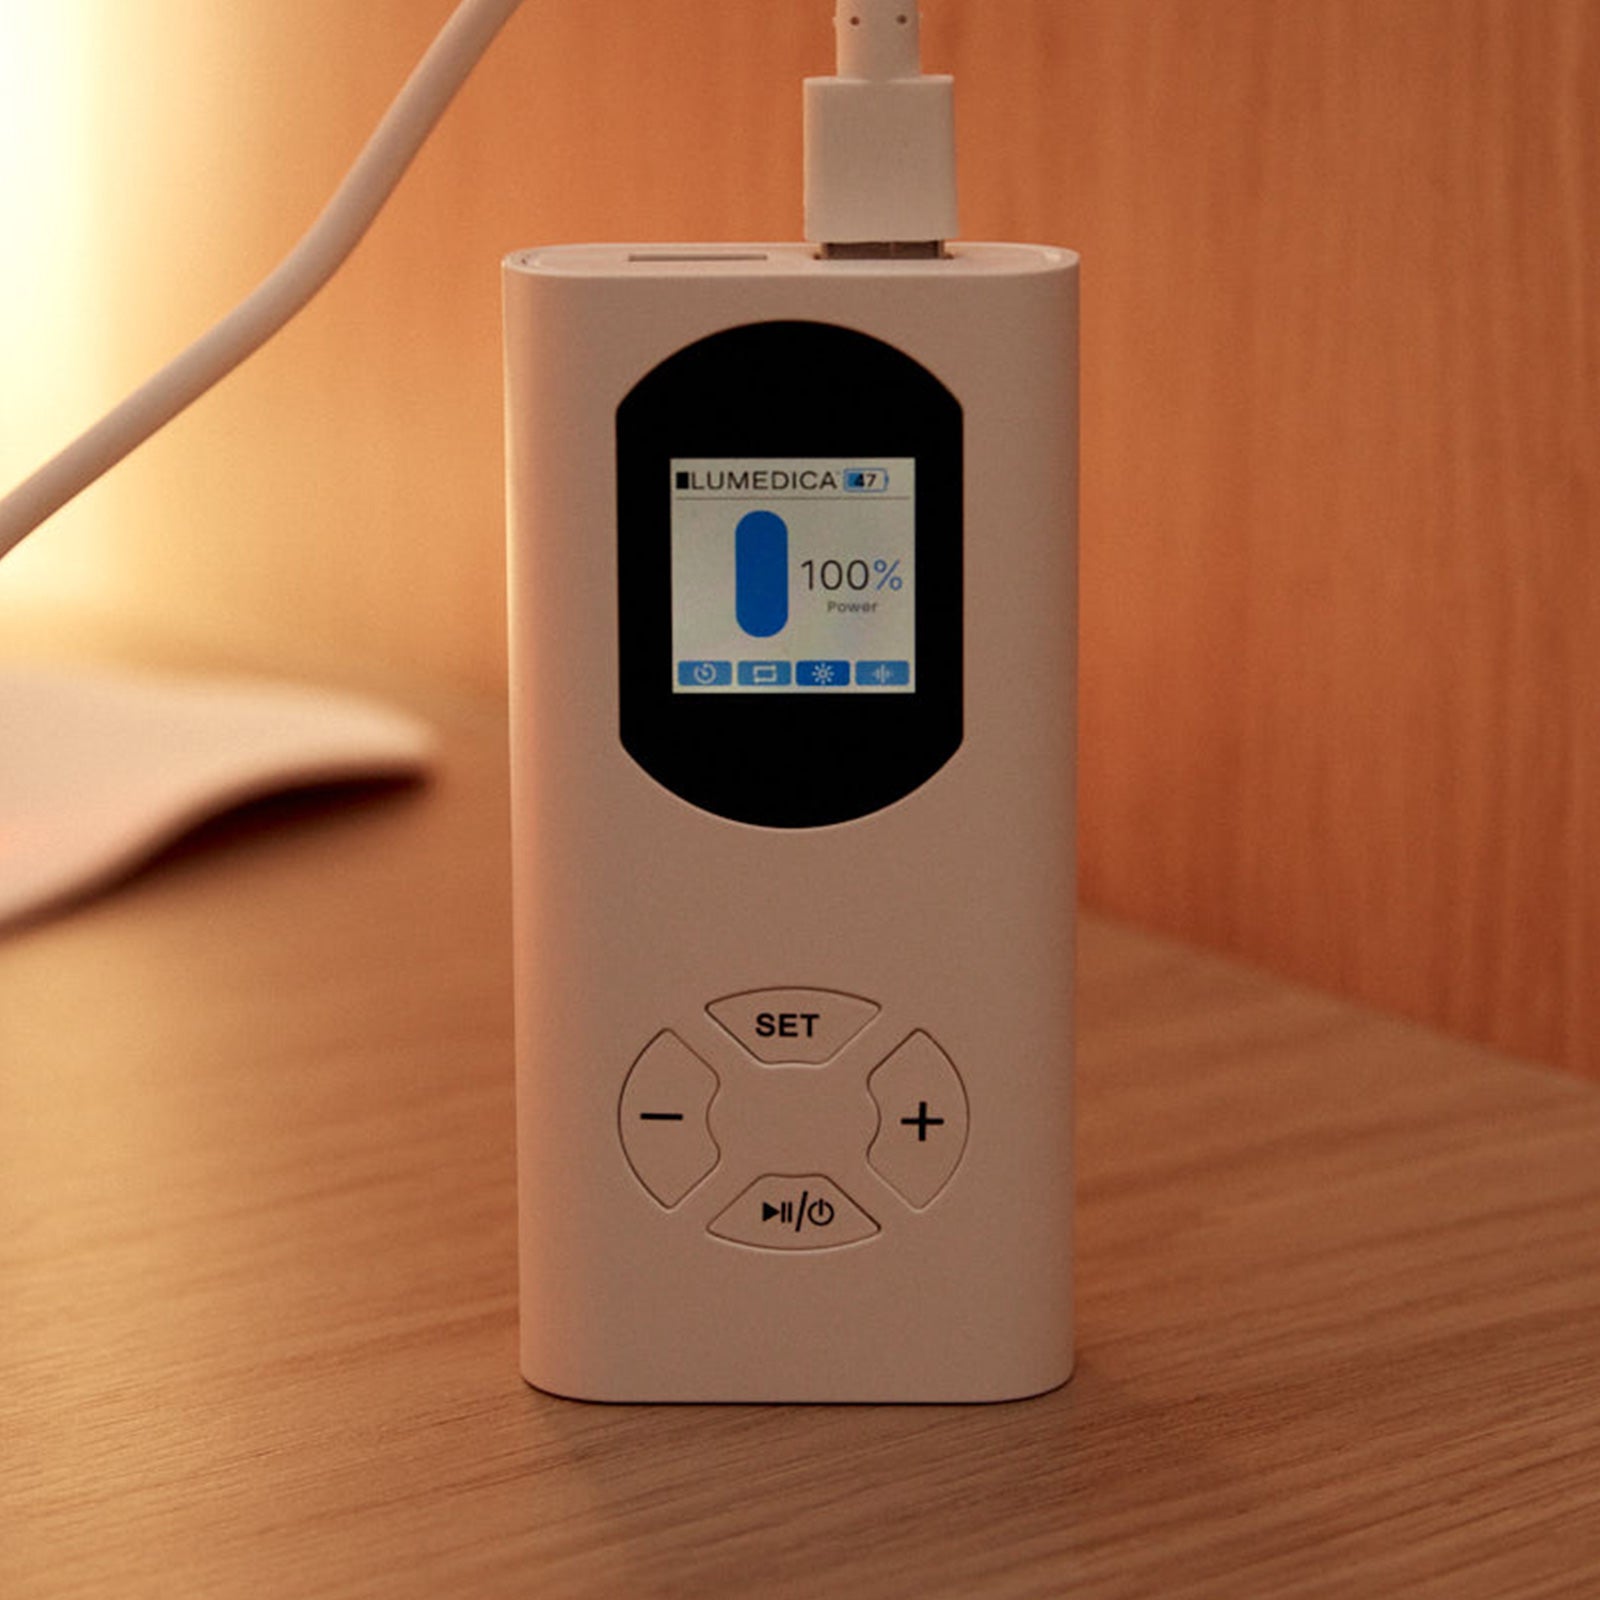
Set Power Output
Press “Set” to toggle through power levels. Choose the recommended output for your selected treatment to achieve effective and comfortable light therapy.
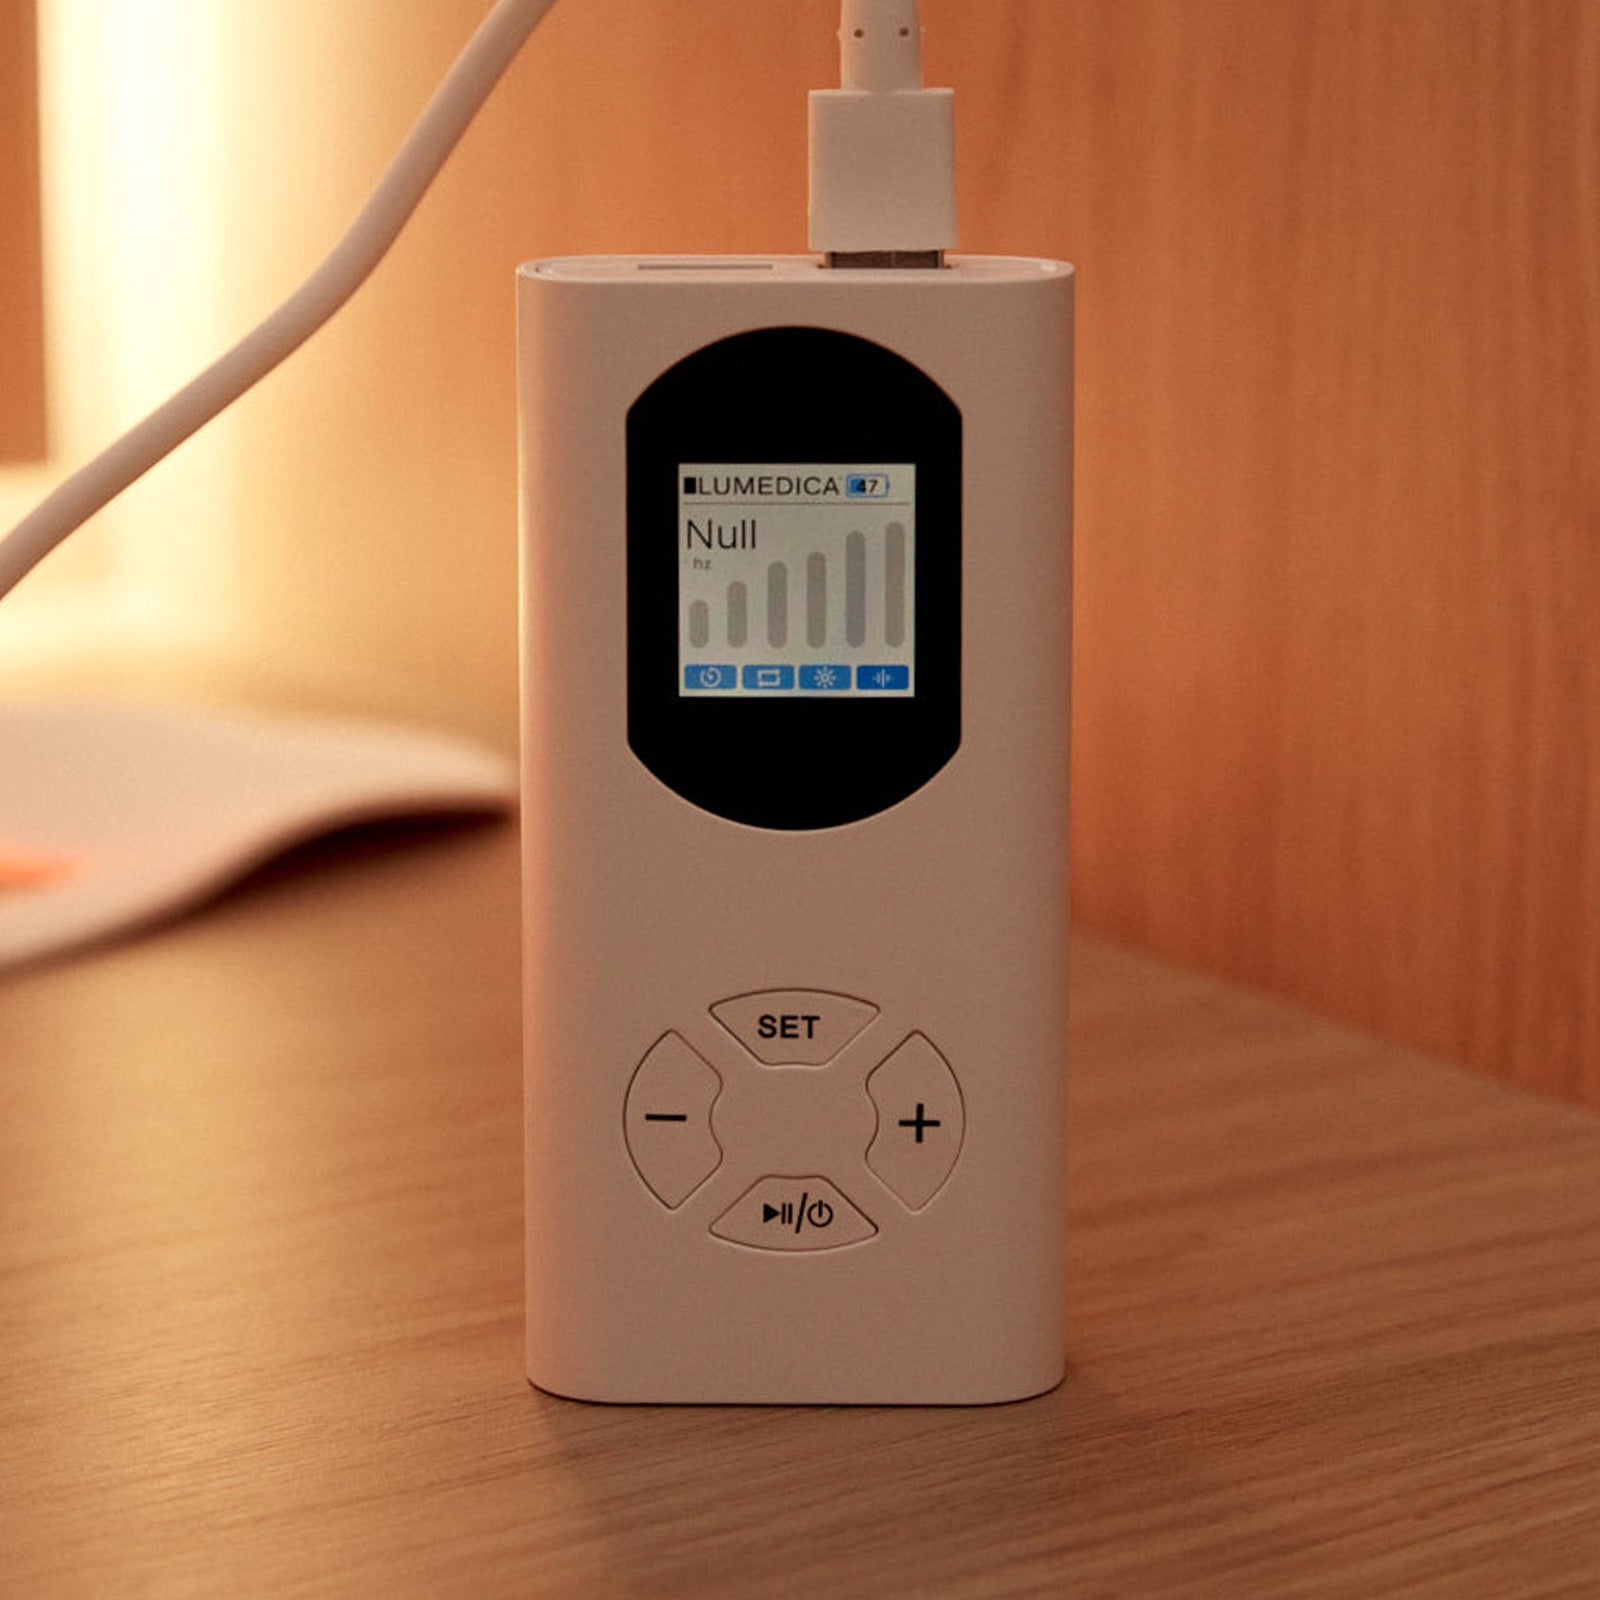
Set Pulse Frequency
Use the remote’s “Set” button to toggle between pulse options. Choose the recommended frequency or Null Hz (continuous mode) for your selected treatment.
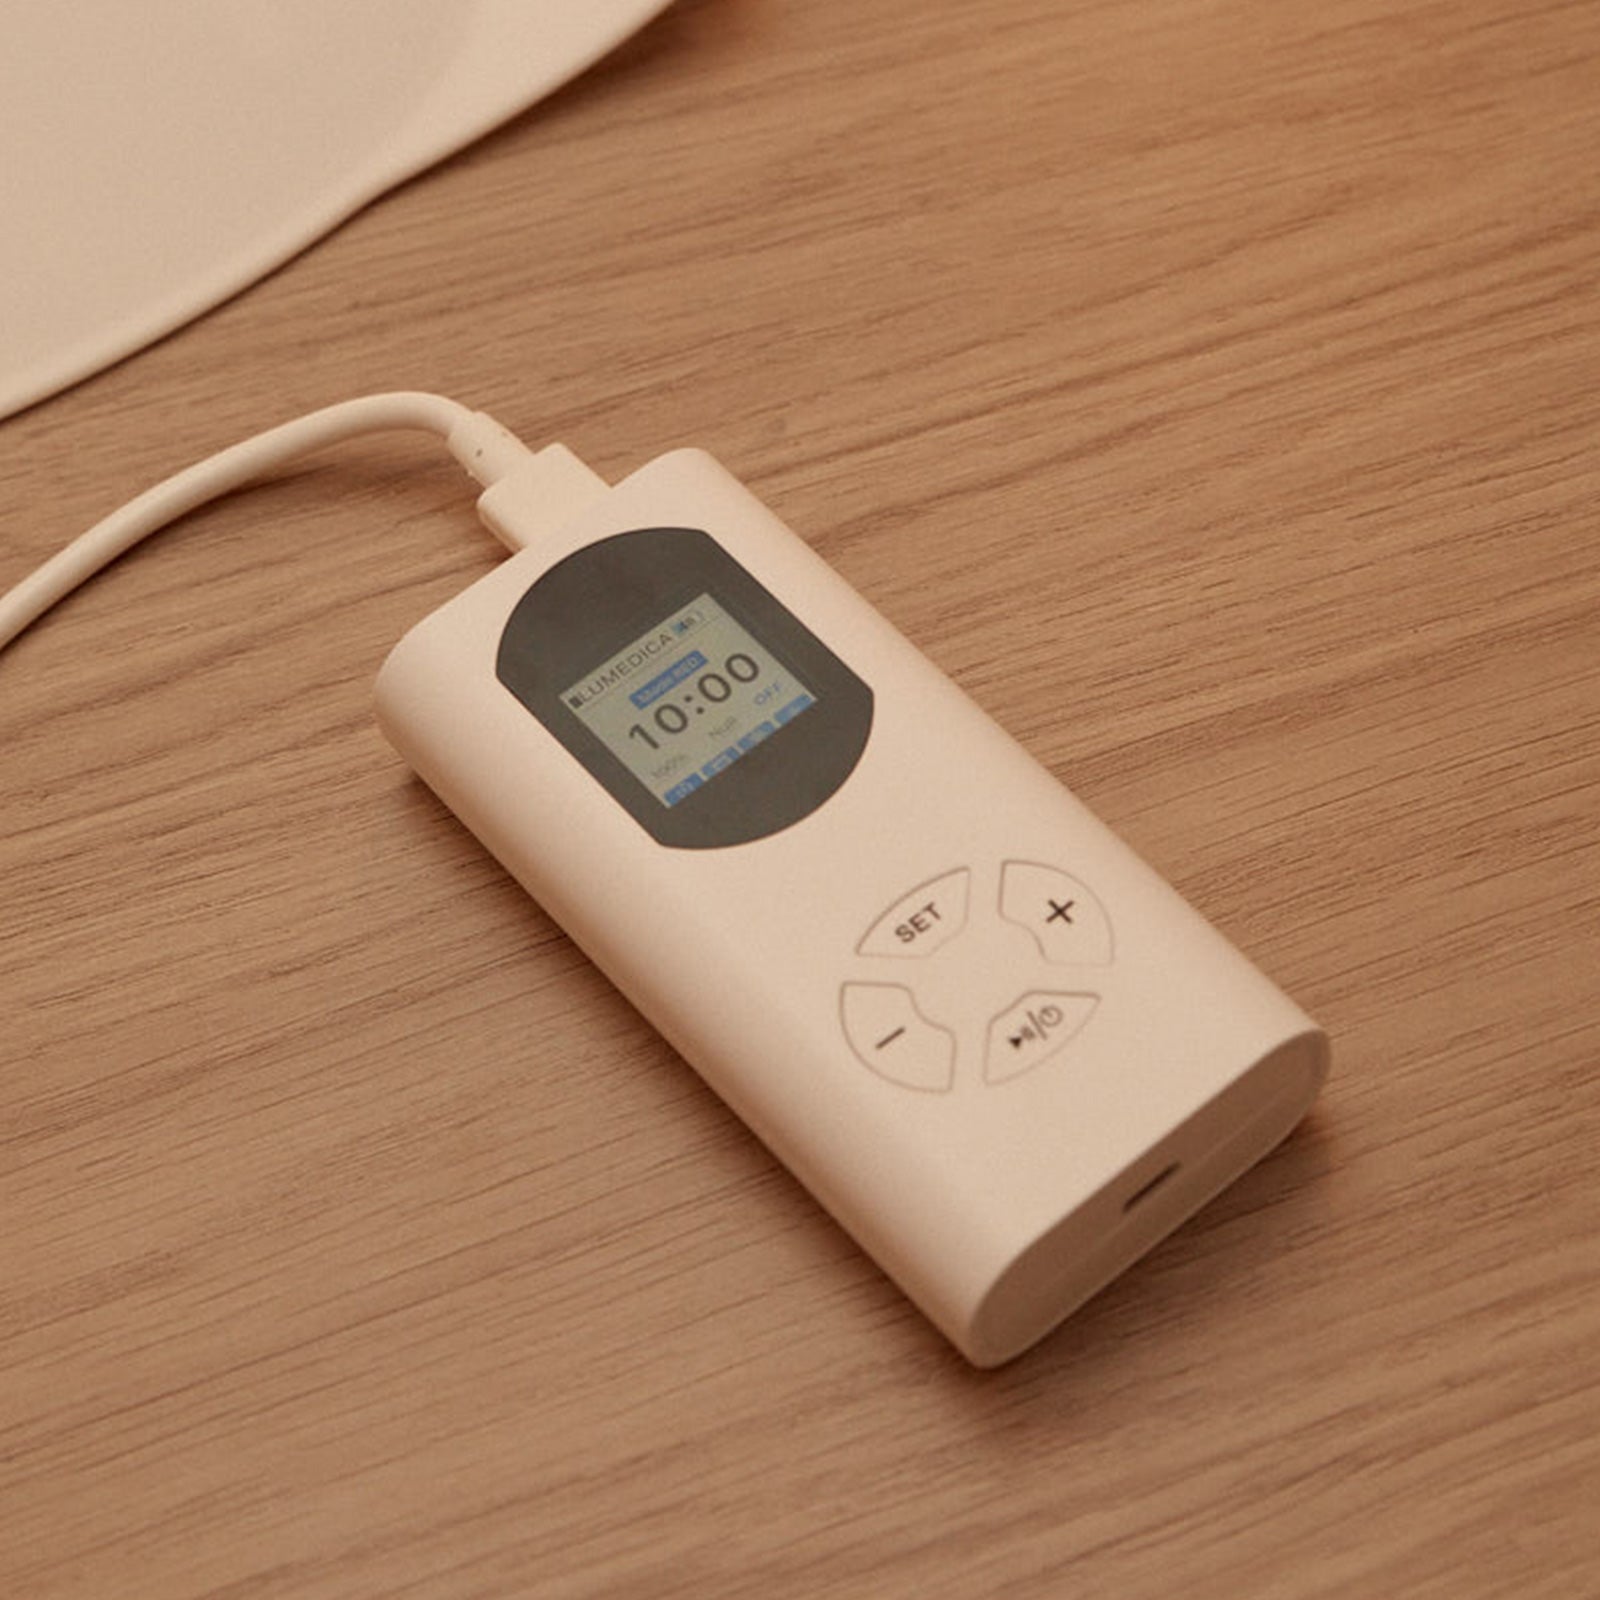
Set Timer
Use the plus and minus buttons on the remote to adjust your treatment duration. Set the recommended time for your chosen wavelength and skin concern.

Prepare Skin
Start with clean, dry skin. Remove makeup, SPF, or heavy products. Apply an optional water-based serum for enhanced results before placing the mask on your face.
Position Mask
Place the LED Mask comfortably on your face, ensuring even contact. Adjust the Velcro straps for a snug, secure, and comfortable fit before starting your session.
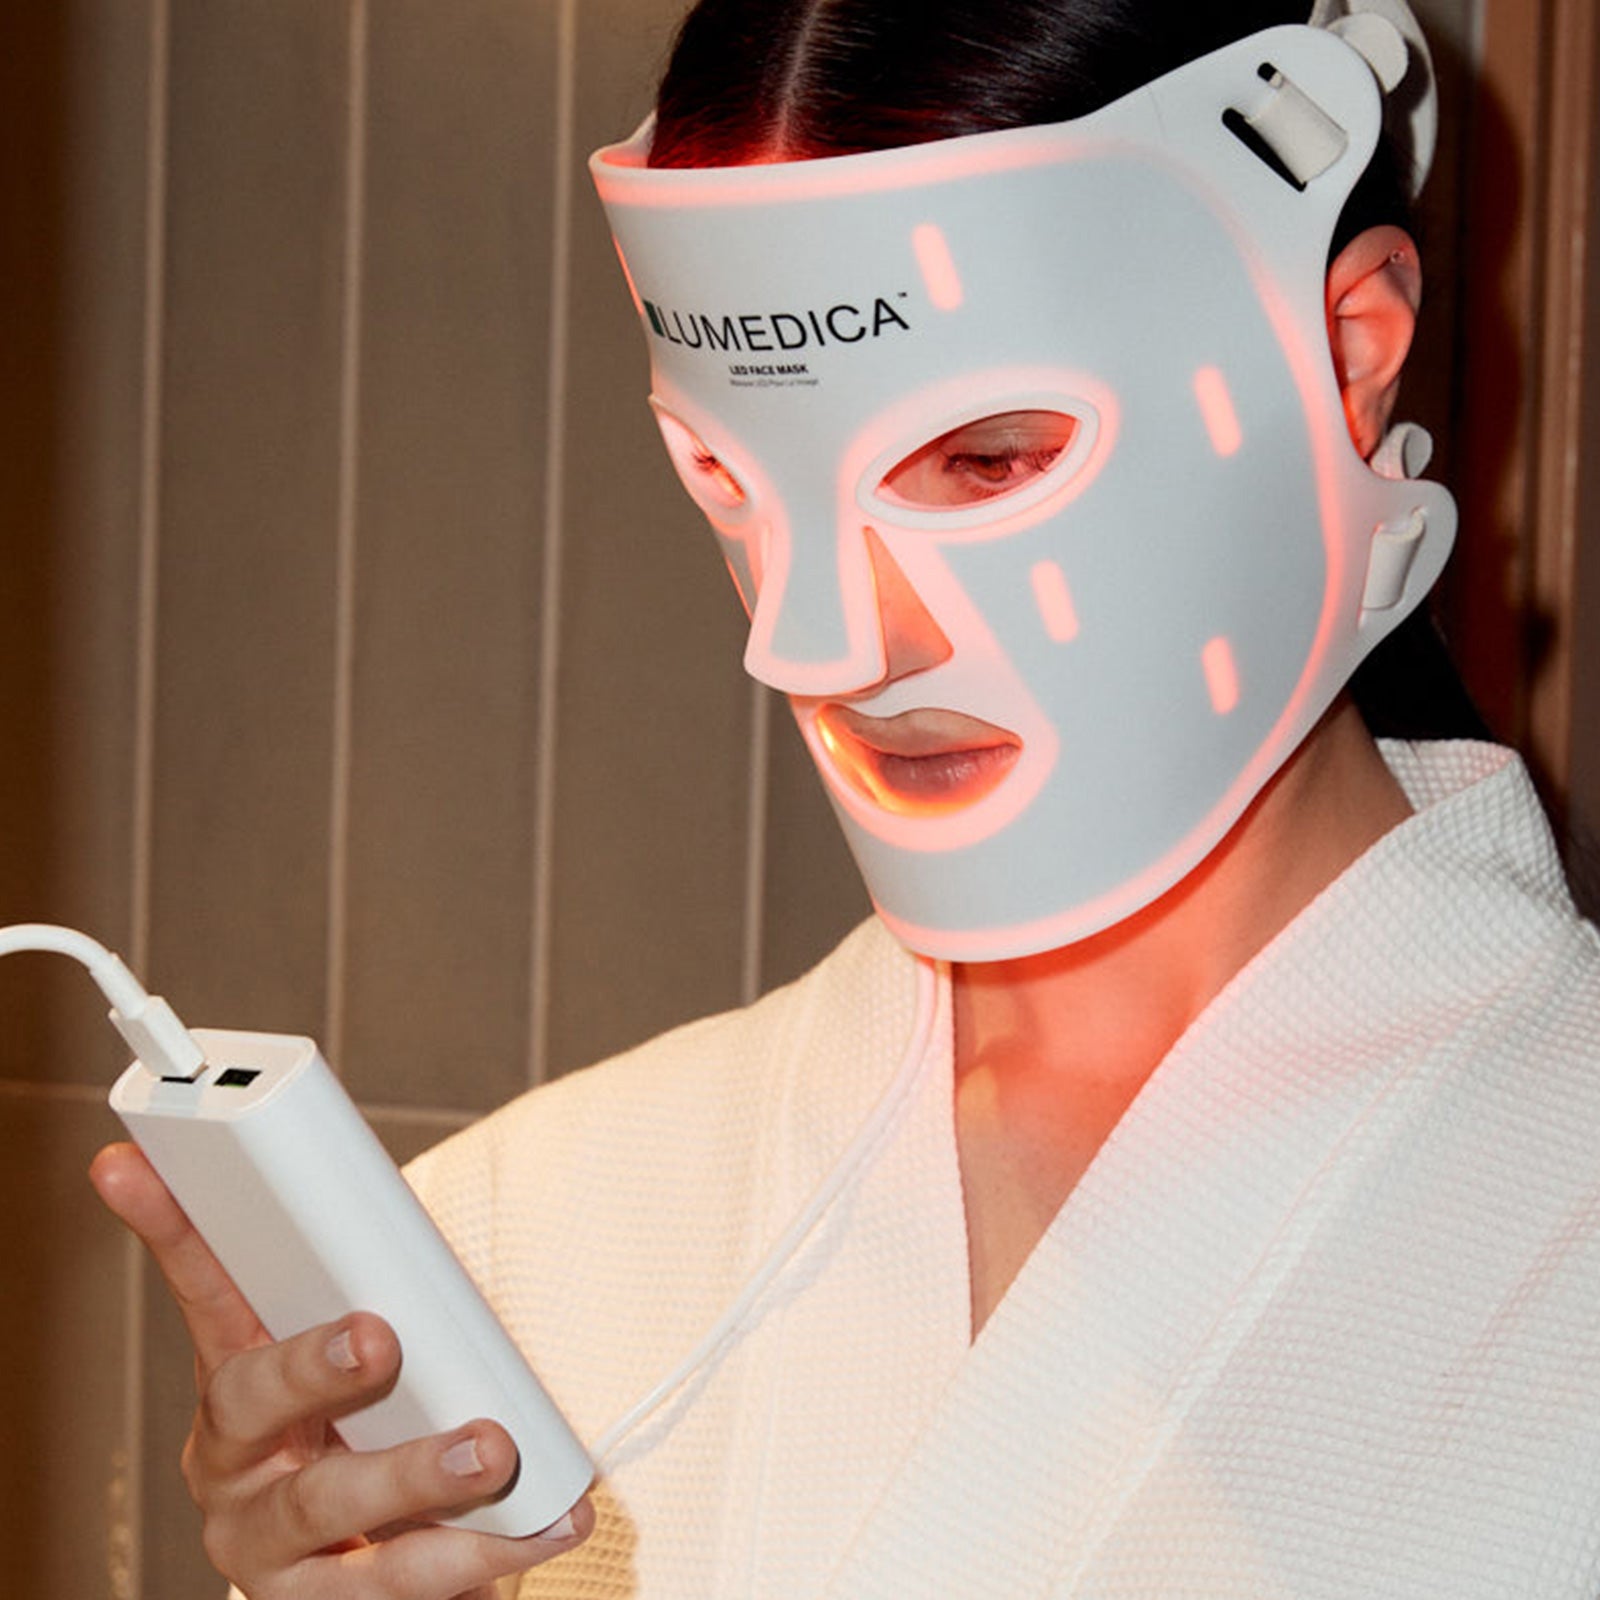
Start Treatment
Press the play button on the remote to begin your session. The remote will display “On” when the mask is active and “Off” when finished.
Device Maintenance
Wipe LEDs and mask surface with a damp or alcohol cloth after use. Store in the protective bag and avoid water or excessive heat exposure.
Device User Manual
Optimised LED Light Therapy for Home Use
- For adults only. Not for infants or children.
- Consult your doctor if pregnant, suspected cancer, photosensitivity, or other medical concerns.
- Do not use on broken, inflamed, or painful skin.
- Avoid looking directly into lights; device has eye holes for safe vision.
- Wait 24–48 hours after injectables unless advised by a clinician.
- Lithium-ion battery: follow local disposal regulations.
- Only use supplied USB power cord. Do not disassemble device.
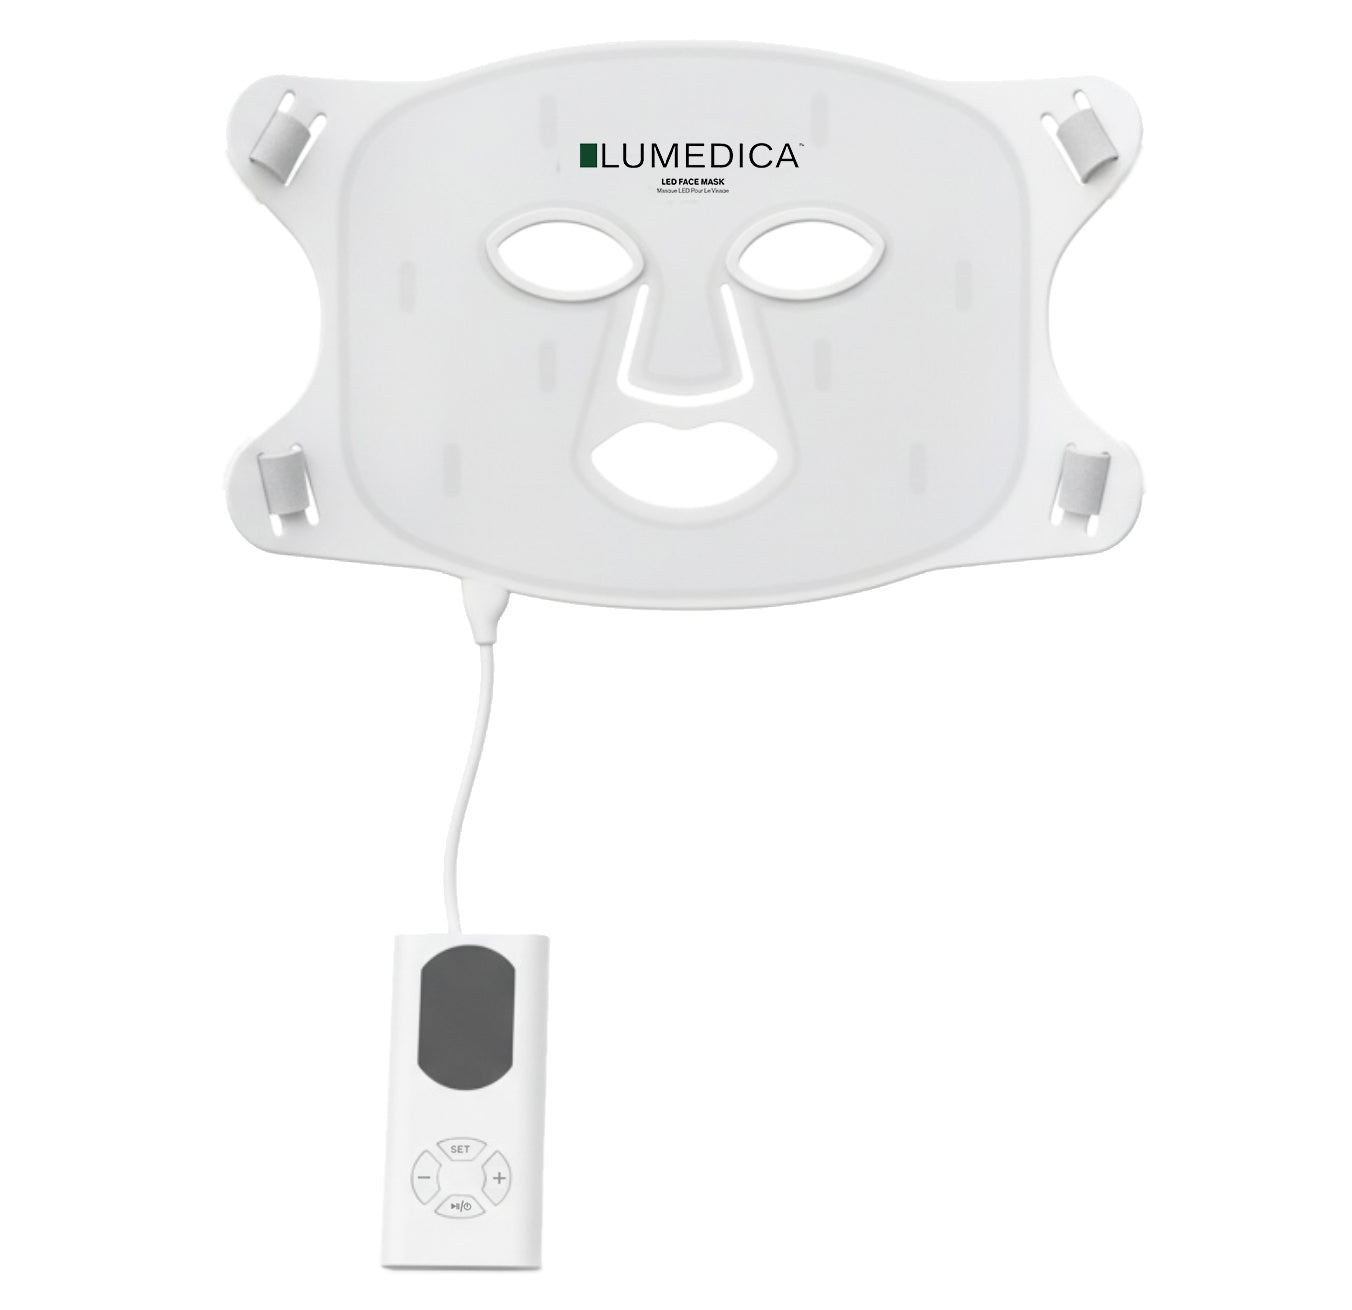
Mask Features:
- Mask with adjustable straps for a comfortable, secure fit
- LED wavelengths: 415 nm Blue, 630 nm Red, 830 nm NIR, 415+630 nm Magenta
- Power indicator lights to show battery status
- USB charging port for easy recharging
Remote Buttons:
- Power Button: Press and hold for 5 seconds to turn the mask on or off
- Set Button: Toggle through treatment modes, power levels, and pulse frequencies (including Null Hz)
- Plus (+) Button: Increase treatment time or adjust other selectable settings
- Minus (–) Button: Decrease treatment time or adjust other selectable settings
- Play Button: Start or pause the treatment. Remote displays “On” when active, “Off” when finished
- Unpack device, remote, and USB cord
- Connect USB cord to mask, then to USB adapter (not included)
- Plug adapter into mains; indicator flashes while charging
- Full charge takes ~4.5 hours; solid green light indicates full battery
- Unplug before use; device cannot operate while charging
- Store mask in protective bag when not in use
- Clean a small skin patch (e.g., arm)
- Place mask in selected mode for 10 minutes
- Check for redness lasting more than 2 hours
- If reaction occurs, do not use on face; consult doctor
General Preparation:
- Cleanse skin thoroughly
- Optional: water-based serum (e.g., hyaluronic acid)
- Avoid SPF or occlusive products
- Ensure skin is dry before applying mask
Mask Setup:
- Thread adjustable headband through mask slots
- Insert eye comfort cups
- Adjust Velcro straps for a snug, secure, and comfortable fit
Power On Device:
- Hold the power button on the remote for 5 seconds
Select Treatment Protocol:
- Press “Set” to toggle between Blue, Red, NIR, or Magenta modes
Select Power Output:
- Press “Set” to toggle through recommended power levels
Select Pulse Frequency:
- Press “Set” to toggle between pulse options or Null Hz (continuous mode)
Select Timer:
- Adjust session duration using plus (+) and minus (–) buttons
Start Treatment:
- Press the play button; remote displays “On” when active, “Off” when finished
Post-Treatment:
- Remove mask
- Apply moisturiser or soothing serum
Apply SPF if exposed to daylight
- 415 nm Blue – Skin Assist: Breakouts, oiliness, redness; 15–20 mins, 3–5x/week
- 630 nm Red – Collagen Repair: Fine lines, firmness, dullness; 20 mins, 3–5x/week
- 830 nm NIR – Deep Remodelling: Recovery, resilience, deeper repair; 20–30 mins, 2–4x/week
- 415+630 nm Magenta – Accelerated Renewal: Mixed concerns; 20 mins, 3–5x/week
- Light penetrates skin to stimulate collagen and repair
- 415 nm targets blemishes and inflammation
- 630 nm improves collagen, firmness, and tone
- 830 nm supports deeper repair and resilience
- Magenta mode combines benefits for multiple concerns
- Wipe LEDs with alcohol or damp cloth after each use
- Clean device body with microfibre cloth
- Remove and clean eye cups if needed
- Do not immerse in water
- Store in protective bag in cool, dry place
- Avoid excessive bending of USB cord
- Device not turning on: check charge and connection
- Device stops mid-session: allow cooling; automatic shut-off may activate
- Lights flicker: return device if persistent
- Infrared lights not visible: normal operation
- Remote unresponsive: check battery and reconnect